Back in the '80s we thought we were so cool to make fajitas at home. Tex-Mex was a new rage and it became a fun new party food. Back in those days, we made fajitas with a thick London broil, sliced and then marinated, each slice grilled individually. The peppers (only green bells were readily available in those days) and onion were flash-sauted on the stovetop. What did we know?
Thinking of fajitas immediately brings back the scents of onions and peppers cooking, the sounds of laughter with friends, little kids running around everywhere. It's clearly time to revisit fajita making and zhoosh it up a little.
The Marinade and the Meat
Swapping bavette steak (also called sirloin flap) for the London broil is a nice improvement from the way-back machine version. Bavette comes from the bottom of the sirloin section of a beef near the flank and has a texture very similar to flank or skirt steak. Its nice marbling offers a wonderful flavor, and it is infinitely more tender than the good ol' London broil ever hoped to be.
To highlight the texture of the meat and ensure it's tenderness, but sure to slice it thinly and against its grain. The dotted lines in this diagram show the inherent grain of the meat. The knife shows the direction the blade should cut through it to go against the grain. This way, it becomes much more enjoyable to chew.
Bavette lends itself to a good bath in a marinade, absorbing its flavors well which this marinade delivers. Four easy ingredients-- fresh lime juice, a handful of cilantro, garlic, salt, and a quick whiz in a food processor are all you need.
A very hot grill lets you achieve a flavorful sear without overcooking. The wind was blowing hard the day I photographed this and my grill grates just couldn't get hot enough to lay down those gorgeous char lines. Such is the life of a home cook.
The Peppers and Onion
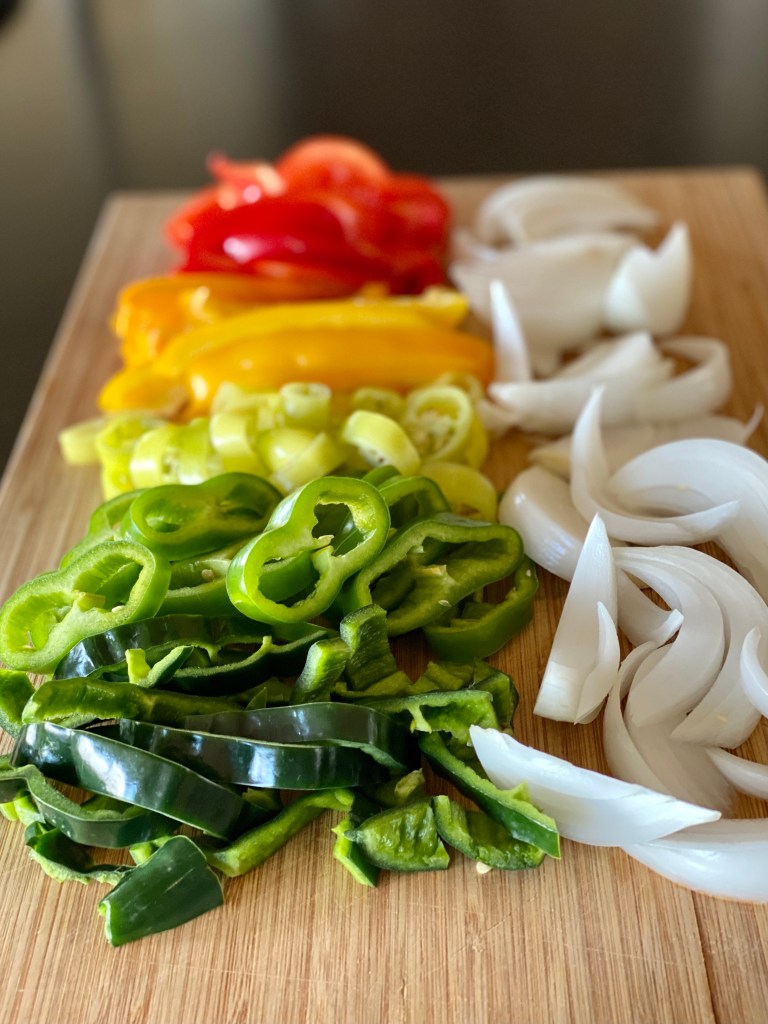
Use a good mix of peppers for a flavor, texture, and color explosion!
The updated version goes way beyond green bell peppers. The end-of-summer treasure trove of colorful peppers makes it easy to stuff your fajitas with a balance of flavor and color. Use all the colors! Reds, oranges, yellows, chartreuse, grassy greens and deep greens mixes means you'll be including the array of sweet, hot, mild, earthy, bright flavors.
The onions should be white. Period. Clean and crisp is best here.
Now is the time to invest in a grill pan if you don't already have one, as they should be on end-of-season sales. Cut your vegetables to size-- a mix of strips and rings is fun and beautiful-- and toss them into a pre-heated grill pan that has first been sprayed with a cooking oil spray. Blast them with a good amount of heat-- you want them to begin to char without overcooking. Char for flavor, but still with some good crunch for texture.
The Avocado Tomatillo Salsa
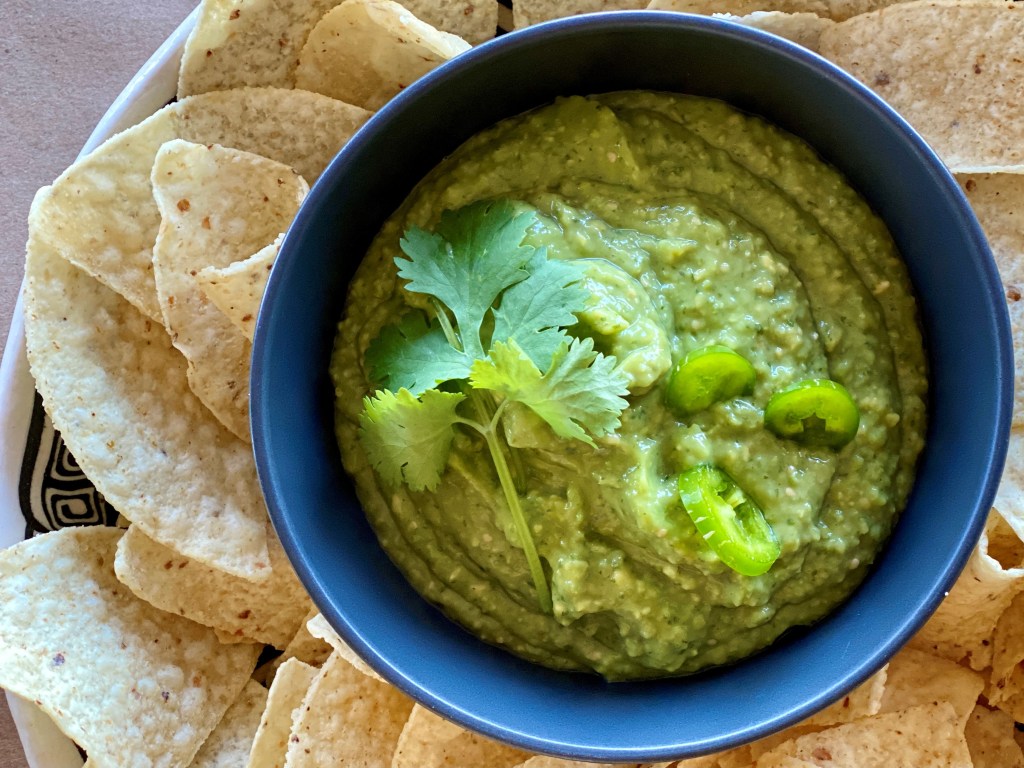
Avocado-Tomatillo Salsa
Let's straighten this out right away: This is not guacamole. One bite and you will see the difference. This simple element could easily be the star of the show. Avocado, tomatillo, and little cilantro if you want, garlic, and salt gets quickly pureed in the food processor happens in minutes start to finish. Because the base ingredients are the same, you don't even have to wash the food processor bowl out first.
You'll want to add this four-ingredient salsa to your go-to list. It is so good on everything. Everything. Rice bowls, snacking with chips, tacos, mixed with some chopped cooked chicken and a few crunchy vegetables for a new chicken salad, potatoes, eggs; you name it.
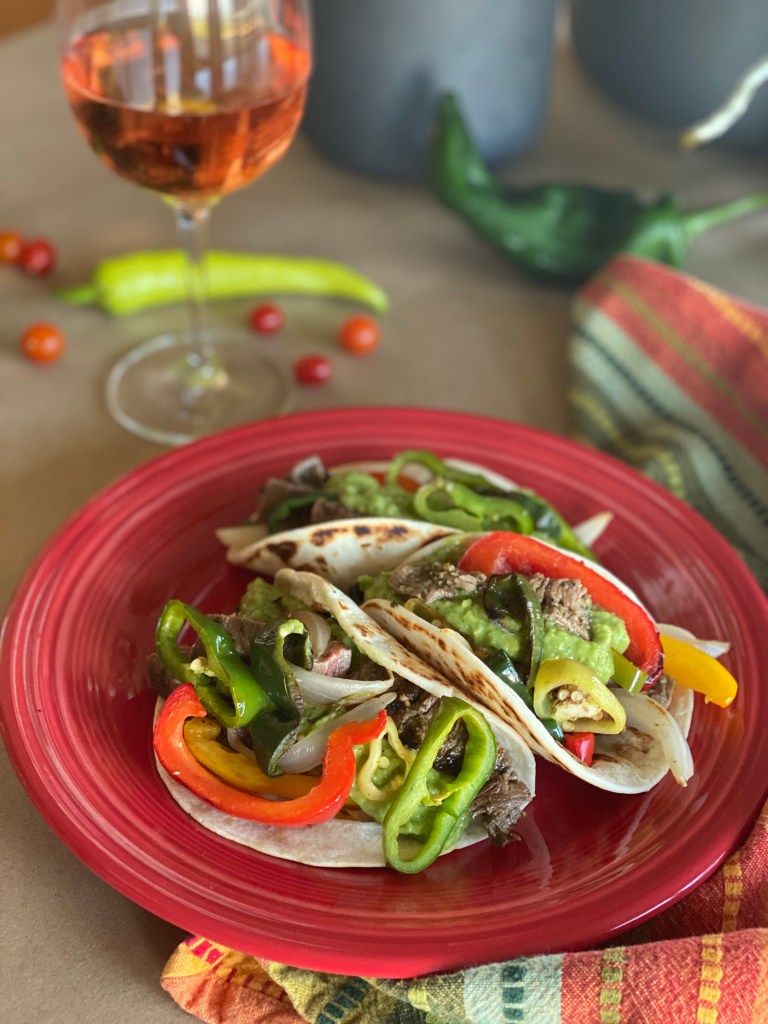
I'm so happy to have rediscovered homemade fajitas. A few ingredient additions, and grilling the peppers and onions fills the air with that unmistakable fajita scent. I'll definitely make this new and improved '20s version for gatherings coming up.
Sizzling grilled beef and the aroma of grilled peppers topped with the best of salsas you will want to add to your repertoire. This zhooshed-up version of the '80s classic is easy to scale for gatherings, family meals, or just yourself.
1½poundsBavette (sirloin flap) steak, or skirt steak
1½poundsmixed peppers (red, yellow and orange bells, Hatch, poblano, Hungarian, banana, etc.)Use what the garden or farmers market is offering!
2mediumwhite onions
12taco-sized flour tortillas
Avocado-Tomatillo Salsa
3avocados, ripe
1 poundtomatillos, papery husks removed and washed
2clovesfresh garlic, peeled
½bunchfresh cilantro (optional)
½-1jalapeno, roughly chopped
salt to taste
Instructions
For the Marinade
Add the first four ingredients to the bowl of a food processor. Whirl, scraping down the sides of the bowl, until well blended and the cilantro is just shy of smooth. Place the Bavette steak in a one-gallon zip-lock bag and pour in the marinade. Place in the refrigerator and allow to marinate at least one and not more than four hours, turning and smooshing the bag occasionally to distribute the marinade.
Prep the peppers and onions and set aside until time to grill.
Heat a gas grill to high (about 500°) and let the grates get very hot. For a charcoal grill, build a bed of charcoal large enough to cook your grill pan of vegetables and the steak over hot direct heat. Place the grill pan on the grates while the grill heats.
Start the vegetables first: Spray your hot grill pan with cooking spray (stand back and be very careful to avoid flames) and scoot all the vegetables into it. Do not disturb the vegetables for 2-3 minutes to allow some charring before turning them. Do this several times throughout the cooking to get a nice char without overcooking the vegetables. depending on the heat of your grill, the size of your grill pan, and the amount of vegetables, this can take 10-20 minutes.
When the vegetables are about 5 minutes from being ready, spray the grates where the meat will cook, and place the meat on the grill. Again, do not disturb the meat to allow for great charring. After 2-3 minutes, check for char and flip. Repeat on the second side. It is very easy to overcook this thinner cut of meat, which may render it tough, so again, err on the side of caution.
While the meat is resting, heat a skillet to medium-high. Toast the tortillas until they are warm, soft, and beginning to blister, flipping once, about a total of 1 minute each. Slice the steak thinly across the grain. Pile peppers and onions and sliced steak into the tortillas and top with the avocado-tomatillo salsa. Serve!
For the Avocado-Tomatillo Salsa
Toss all ingredients into the bowl of your food processor. Pulse at first until the ingredients start moving freely, then whirl until a creamy pureed consistency. Refrigerate until serving. Don't be afraid to make a double batch, as this creamy/tangy salsa is divine on so many things. It keeps well for about three days in your fridge, if it lasts that long.
Some evenings are just not made for fussing over dinner. After a long work day; kids' sports-music-dance-chess club-art-study group activities; community meetings; and who knows what, all cooks need some go-to quick, hot, hearty, tasty things we can make with our eyes closed.
This recipe got me through the flurry of raising my then-tween and teen-agers, and still is a completely comforting and serviceable years later. Over the years I've done a lot of "Making It My Own" improv riffing, and it's always forgiving and welcome.
A big plus to this recipe guideline is that it easily accommodates a range of dietary needs within a household. It's easy to make a burrito cheesy-gooey for one person and dairy-free for another, and it offers the same flexibility with gluten-free and vegan options.
If you're into left overs, plan to make some. It's a jump-start to a hearty Joe's Special egg scramble the next morning, or a great topping for a plate of Friday night nachos.
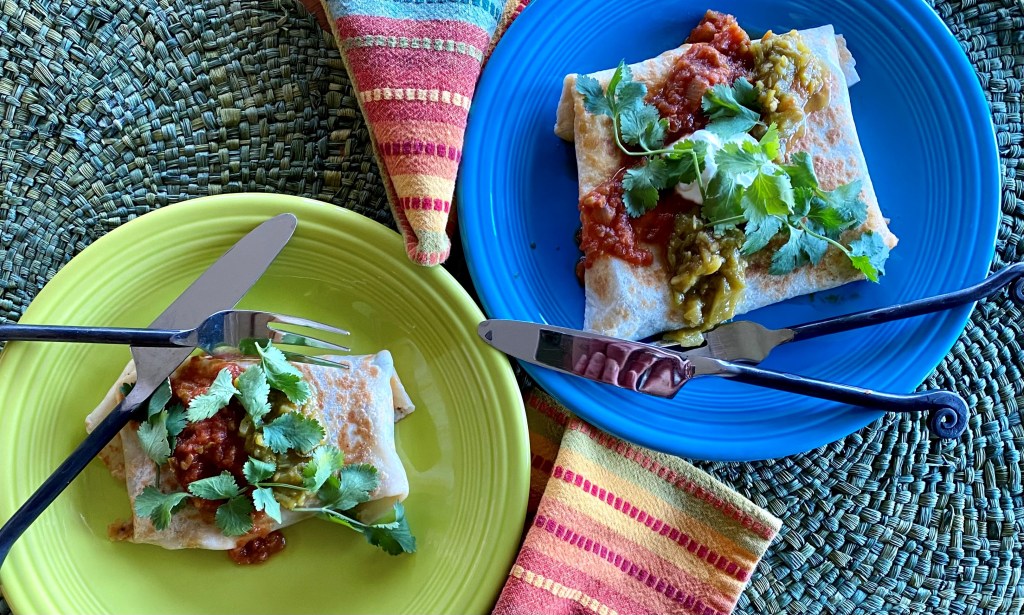
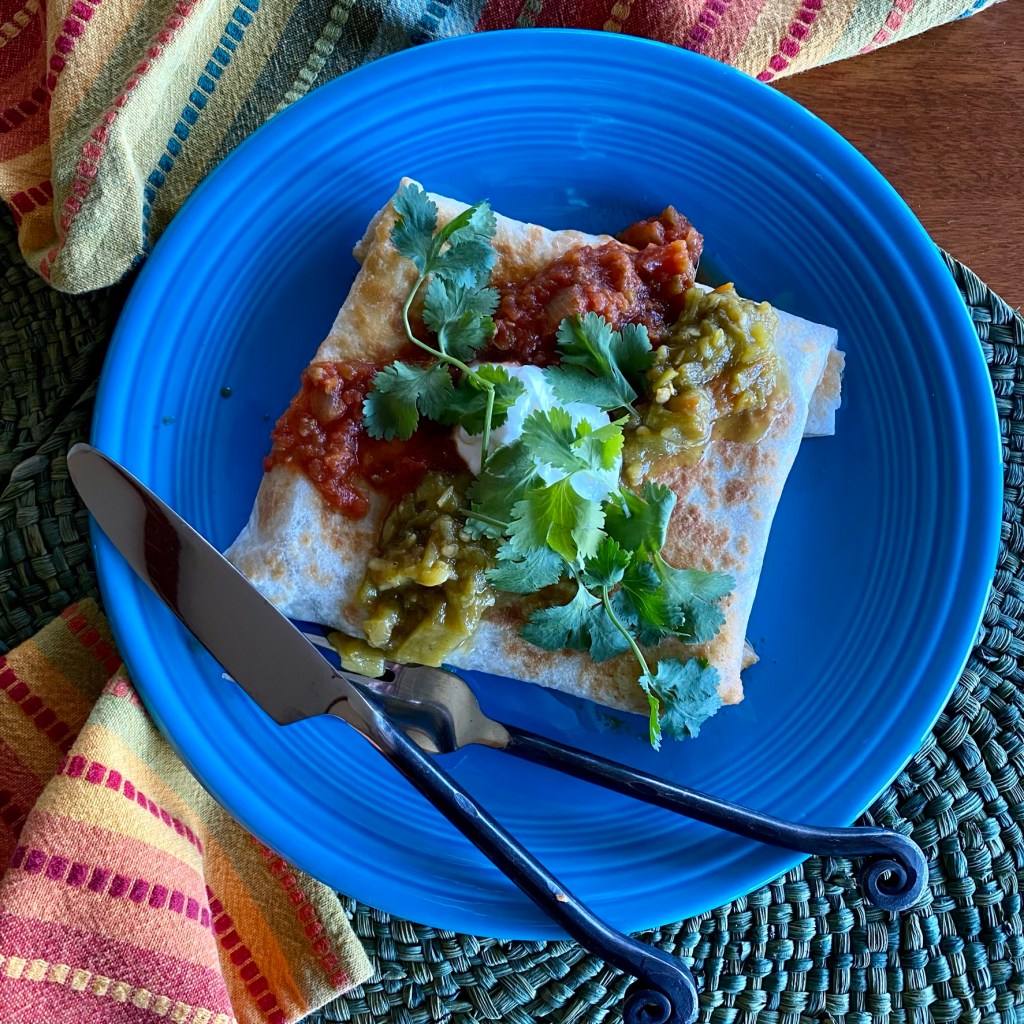
A few easy steps and on the table in 20 minutes.
In my real-world life, not every meal is a multi-course beautifully plated affair. Nope, some nights are just about getting it done, and that's good enough, especially when one of my adult sons still asks, "Hey, Mom, can I come over for spinach burritos?" That's a sign of a successful recipe.
1 ¼lb.ground beef, vegan ground meat substitute OR
315 oz. canspinto beans, drained plus 2 Tbsp. olive oil for the pan
6clovesgarlic, or 1/2 tsp. garlic powder
1½tspground cumin
1 tspsalt
1 ¼Cupsstore-bought salsa
14 oz candiced green chilies, or add another ½ cup salsa
8 to 10oz.fresh spinach
1Cupshredded cheddar cheese
8 mediumflour or GF tortillas
canola or other cooking spray
cilantro, additional salsa and sour cream for garnish
Instructions
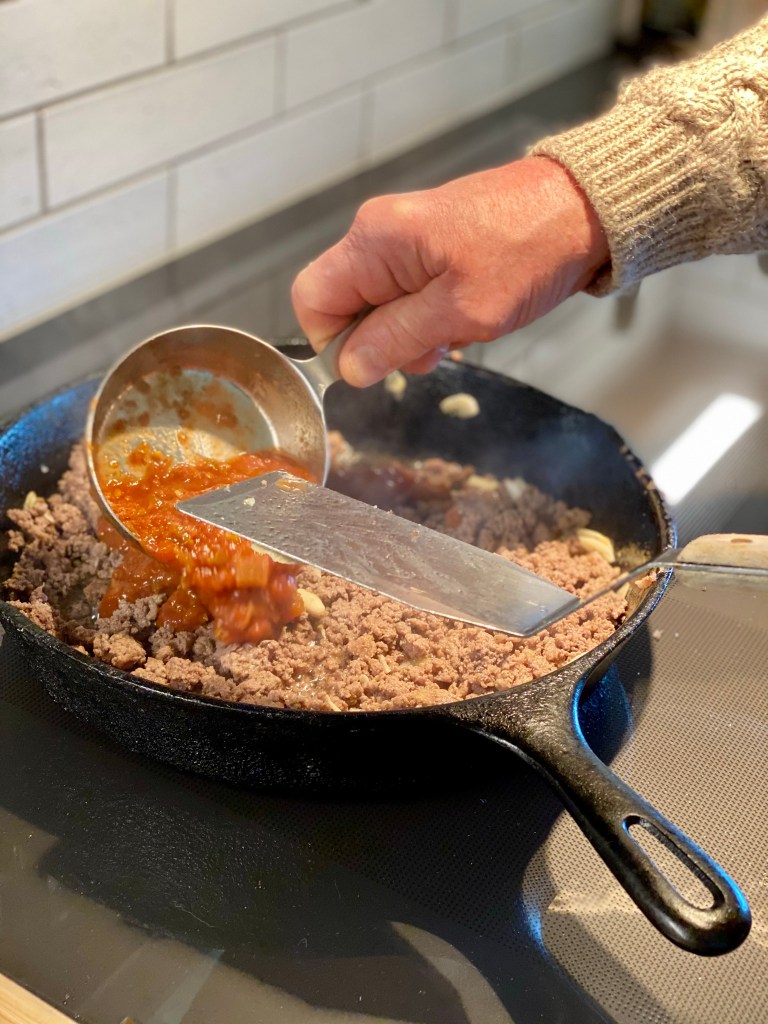
In a 12-inch skillet over medium-high heat, brown the ground beef or meat substitute, garlic, cumin, and salt.
If replacing the meat with canned beans, add 2 Tbsp. olive oil to the pan before adding the beans.
When the meat (or beans) and spices are well-browned, stir in in the salsa and green chilis.
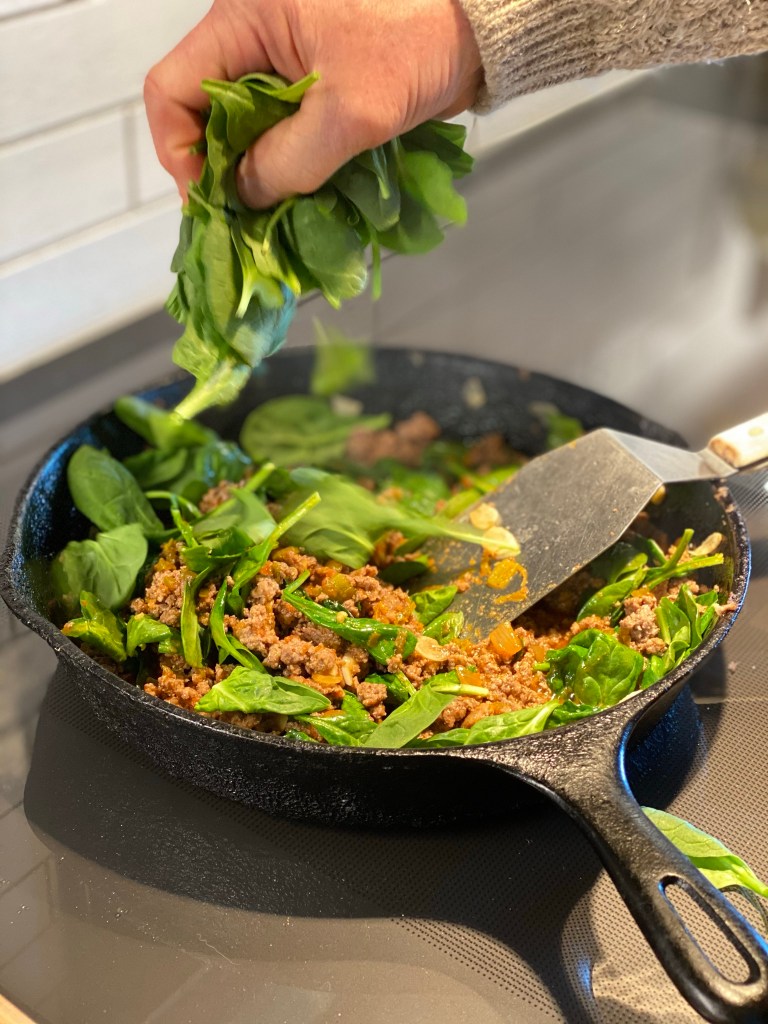
Add the spinach leaves, two or three handfuls at a time, stirring them in until they wilt before adding the next few handfuls, until all the spinach is wilted and mixed through.
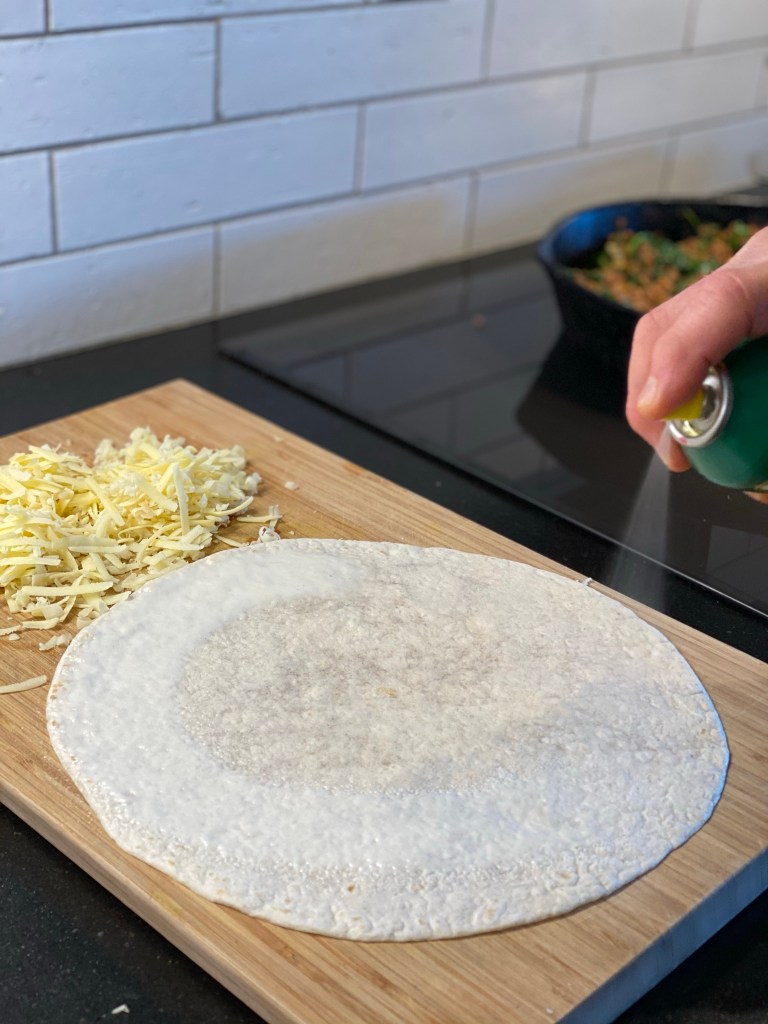
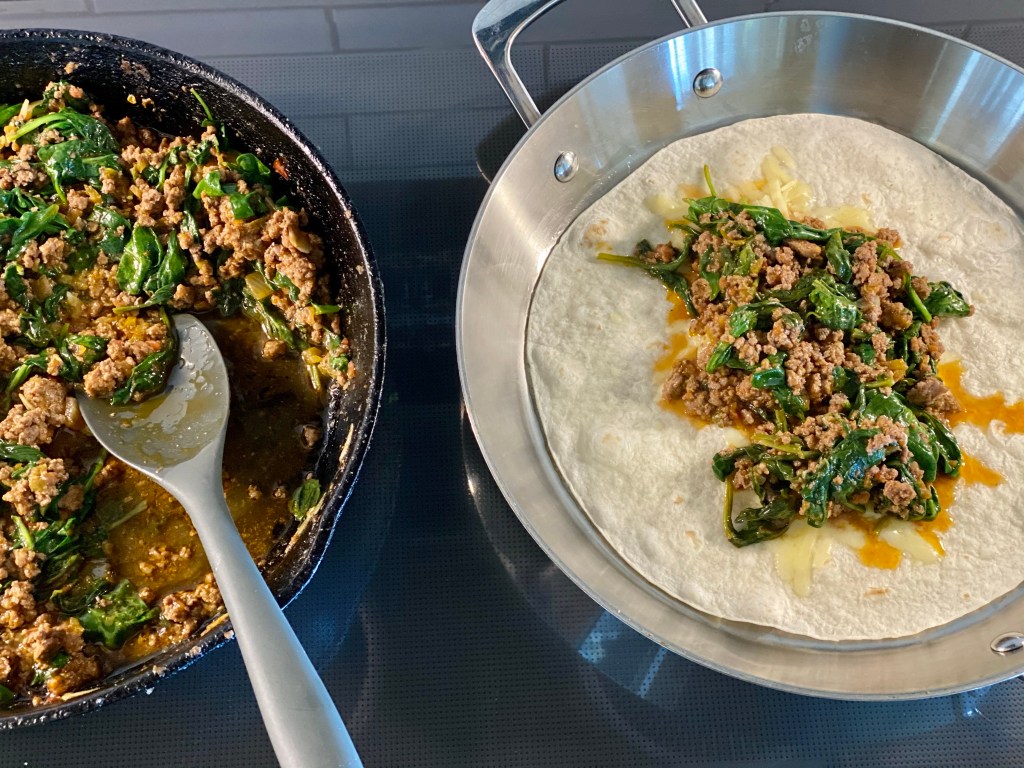
Heat a separate large skillet to medium high. Spray one side of each tortilla with the cooking spray (this will help them crisp up.*) Place the sprayed side down in the heated skillet, and sprinkle a little of the cheese down the center. (Omit the cheese for vegan/dairy-free options.) Spoon the beefy spinach filling down the center of the tortilla. Fold the edges over the filling, burrito-style. When the first side is browned, flip the burrito over to crisp it too.
Place the burritos on serving plates and garnish with additional salsa, green chilis, cilantro, and sour cream (omit for vegan/diary-free versions) as desired.
Notes
Make It Your Own:
add a chopped onion to the skillet when browning the ground beef
try this with ground chicken or turkey
experiment with adding chili powder and/or dried Mexican oregano
add a chopped stems from a bunch of cilantro with the spinach
fancy expensive salsa is not needed in this recipe, but have fun experimenting with different inexpensive ones.
bump up the heat with spicier salsa, or add a chopped jalapeno to the meet as it browns.
*This cooking spray tip is also how I soften corn tortillas for tacos and enchiladas. No need to pour oil into a skillet to do this task, just a simple shot of cooking spray.
Follow Me
Welcome!
You’re in the right place! I’m Pam Spettel, home cooking expert and guide, and I’m here to show you how to break up with cooking and hospitality anxiety, learn how to use recipes as guides rather than strict rules, and let your cooking intuition and confidence soar.
Superpower: Dreaming up recipes that work, serving them to my friends and family, and writing little stories about how cooking them well is the same as loving well.
Inspiration: Ingredients! The fresh, colorful, fragrant, local, seasonal ingredients found in the Pacific Northwest are my creative medium.
Heroes: Local food and wine producers– the people who keep me, my family, and our community nourished and happy.
We use cookies on our website to give you the most relevant experience by remembering your preferences and repeat visits. By clicking “Accept”, you consent to the use of ALL the cookies.
This website uses cookies to improve your experience while you navigate through the website. Out of these, the cookies that are categorized as necessary are stored on your browser as they are essential for the working of basic functionalities of the website. We also use third-party cookies that help us analyze and understand how you use this website. These cookies will be stored in your browser only with your consent. You also have the option to opt-out of these cookies. But opting out of some of these cookies may affect your browsing experience.
Necessary cookies are absolutely essential for the website to function properly. These cookies ensure basic functionalities and security features of the website, anonymously.
Cookie
Duration
Description
cookielawinfo-checkbox-analytics
11 months
This cookie is set by GDPR Cookie Consent plugin. The cookie is used to store the user consent for the cookies in the category "Analytics".
cookielawinfo-checkbox-functional
11 months
The cookie is set by GDPR cookie consent to record the user consent for the cookies in the category "Functional".
cookielawinfo-checkbox-necessary
11 months
This cookie is set by GDPR Cookie Consent plugin. The cookies is used to store the user consent for the cookies in the category "Necessary".
cookielawinfo-checkbox-others
11 months
This cookie is set by GDPR Cookie Consent plugin. The cookie is used to store the user consent for the cookies in the category "Other.
cookielawinfo-checkbox-performance
11 months
This cookie is set by GDPR Cookie Consent plugin. The cookie is used to store the user consent for the cookies in the category "Performance".
viewed_cookie_policy
11 months
The cookie is set by the GDPR Cookie Consent plugin and is used to store whether or not user has consented to the use of cookies. It does not store any personal data.
Functional cookies help to perform certain functionalities like sharing the content of the website on social media platforms, collect feedbacks, and other third-party features.
Performance cookies are used to understand and analyze the key performance indexes of the website which helps in delivering a better user experience for the visitors.
Analytical cookies are used to understand how visitors interact with the website. These cookies help provide information on metrics the number of visitors, bounce rate, traffic source, etc.
Advertisement cookies are used to provide visitors with relevant ads and marketing campaigns. These cookies track visitors across websites and collect information to provide customized ads.